How to Organize Happy Planner Stickers
This post may contain affiliate links which means I make a commission if you shop through my links.
Disclosure Policy
Here are some tips on how to organize Happy Planner Stickers.
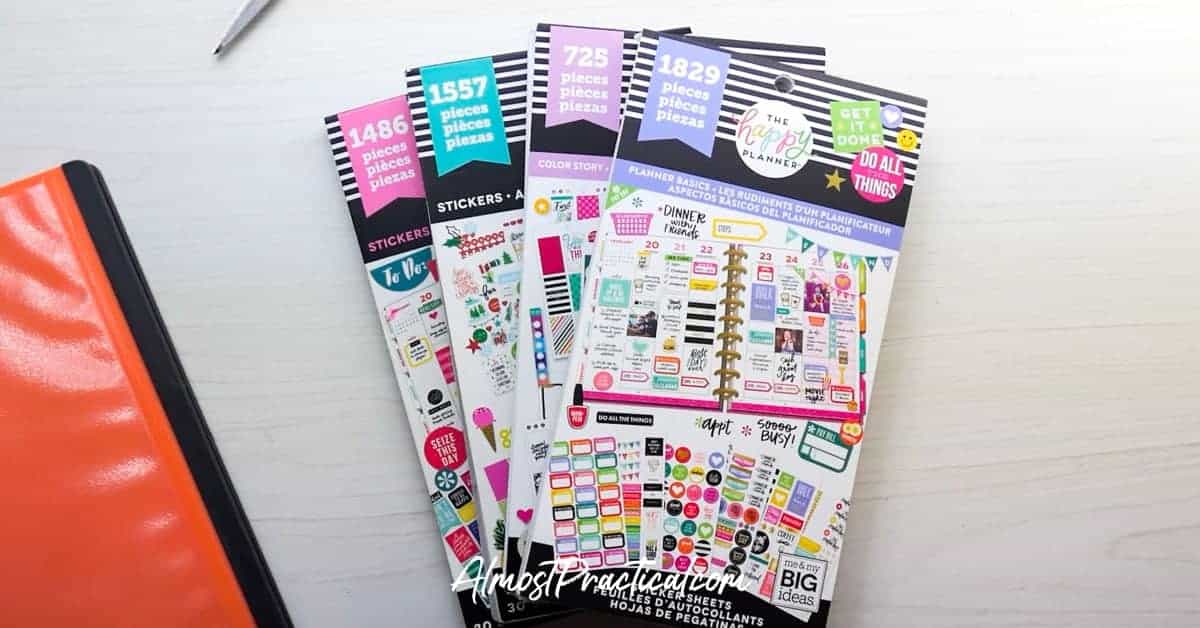
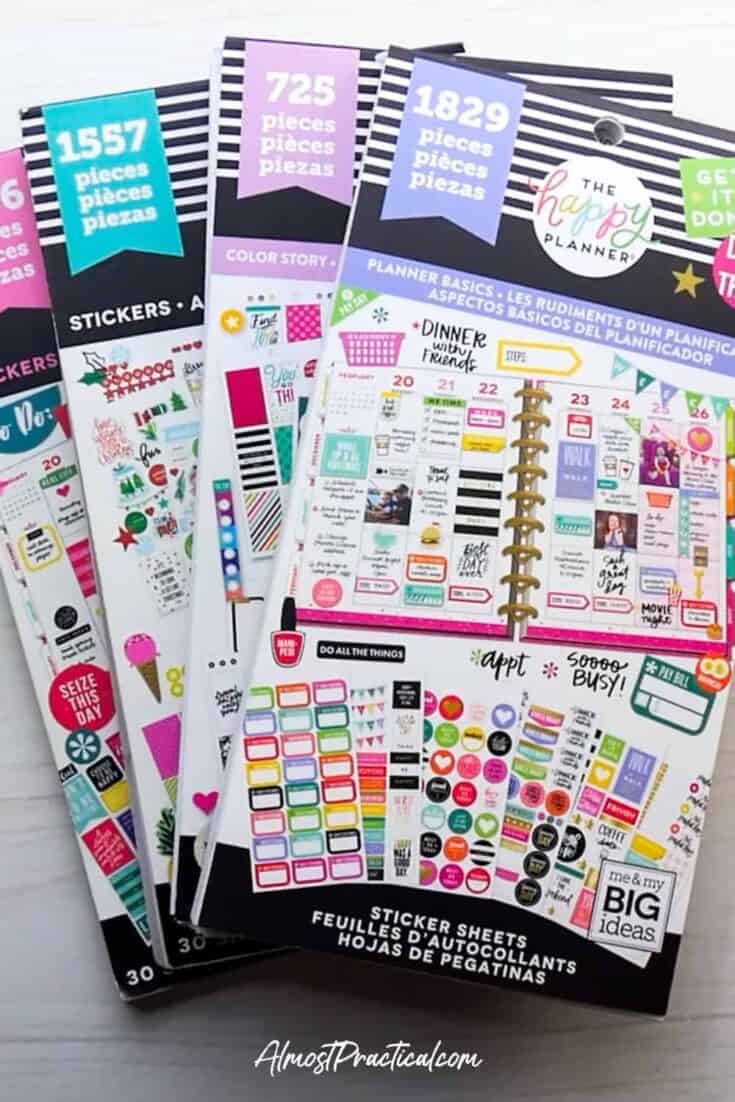
Some of the best planner stickers are from The Happy Planner.
But if you have ever purchased one of these sticker books, then you know how difficult it is to find just the right one.
The stickers come on sheets that are bound into sort of a tablet with a cover. The back of the cover has an elastic band that you can use to wrap around the tablet and keep it shut.
Sure – it’s a nice, neat package.
But there is often not much of a rhyme or reason to how the Happy Planner Stickers are ordered inside this book.
So, you end up searching through practically every page looking for that one perfect sticker to highlight your planning.
It’s a waste of time.
I finally decided enough was enough and set out to find a better way to organize my Happy Planner stickers.
So, I decided to create a sticker binder for all of my Happy Planner planner stickers.
This is what I did and how I organized it.
Supplies You Will Need
- mini binder
- mini binder dividers
- mini binder sheet protectors
- precision scissors
- a selection of Happy Planner stickers – see options at end of post
Break Up Your Happy Planner Sticker Books
The main realization that I came to was that I could not keep my sticker books together in the way that they came.
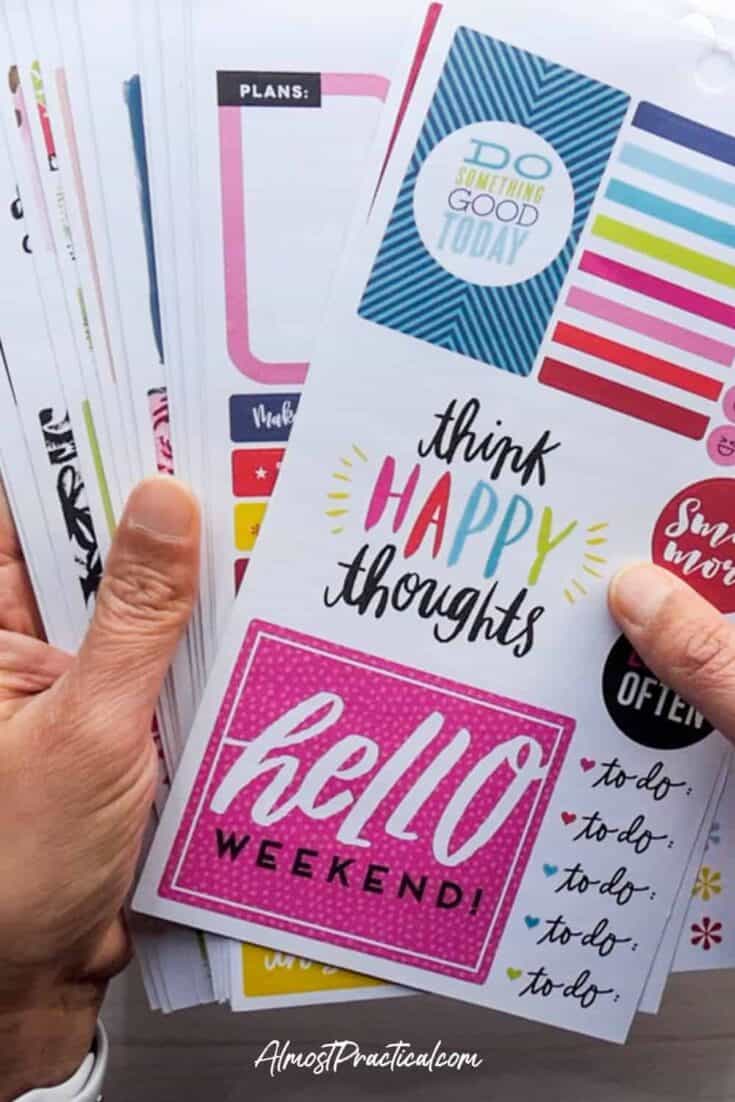
The sticker pages were too random – with to do lists, inspirational quotes, checkmarks and more ALL on one page.
I made a decision that in order to organize my Happy Planner stickers – I would have to break these books apart.
In addition to separating the pages, I would also need to cut the sticker pages to separate the stickers into different categories.
So, if you are ok with breaking up those sticker books then read (or watch) on …
Watch My Process
Use a Mini Binder to Organize Happy Planner Stickers
I chose to use a mini binder from Staples to organize my Happy Planner Stickers.
These binders are 5.5 x 8.5 inches – and I like the smaller size because I feel like the sticker sheets fit better into the smaller sheet protectors.
You could use a standard 8.5 x 11 inch binder instead – but I feel like the stickers would be “looser” and might slide out.
I used a set of mini binder dividers to create sections in my sticker organizer binder.
The ones that I chose were “write & erase plastic dividers” – which means that I can use pencil to write labels on the divider tabs and erase them if I make a mistake or change my mind.
Finally, I used a set of mini binder sheet protectors. These function as sleeves to contain all the sticker sheets.
You will also need a pair of precision scissors that are good for fine cutting.
More Posts About Planner Stickers That You Might Like
Set Up Your Binder Organization
The key to planner sticker organization is the categories that you choose to organize what you have.
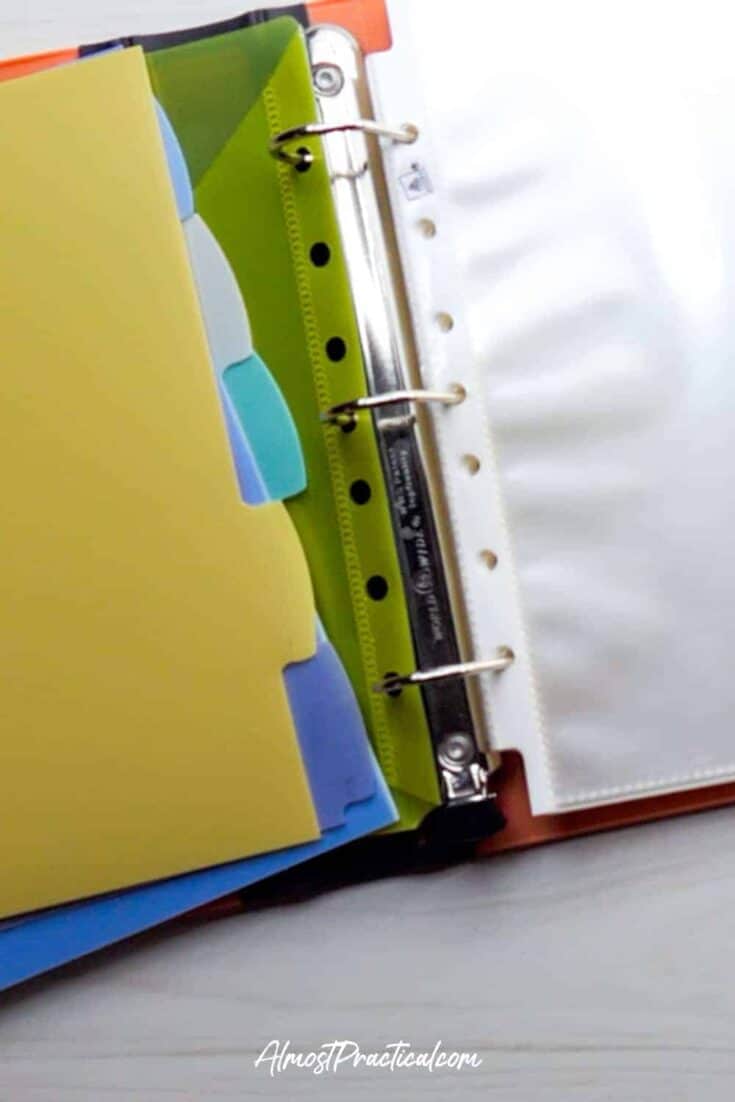
I used both the binder tabs and the sleeves to divide all my stickers into useful categories.
I labeled my tabs as follows:
- Color Themes
- Functional Stickers
- Quotes
- Holiday/Seasonal Stickers
- Other
Behind each tab are sheet protectors that contain groups of stickers that revolve around more specialized themes.
Let me go into a little more detail.
Color Themes
This tab is actually unique to the Color Story Happy Planner Sticker Book that I own.
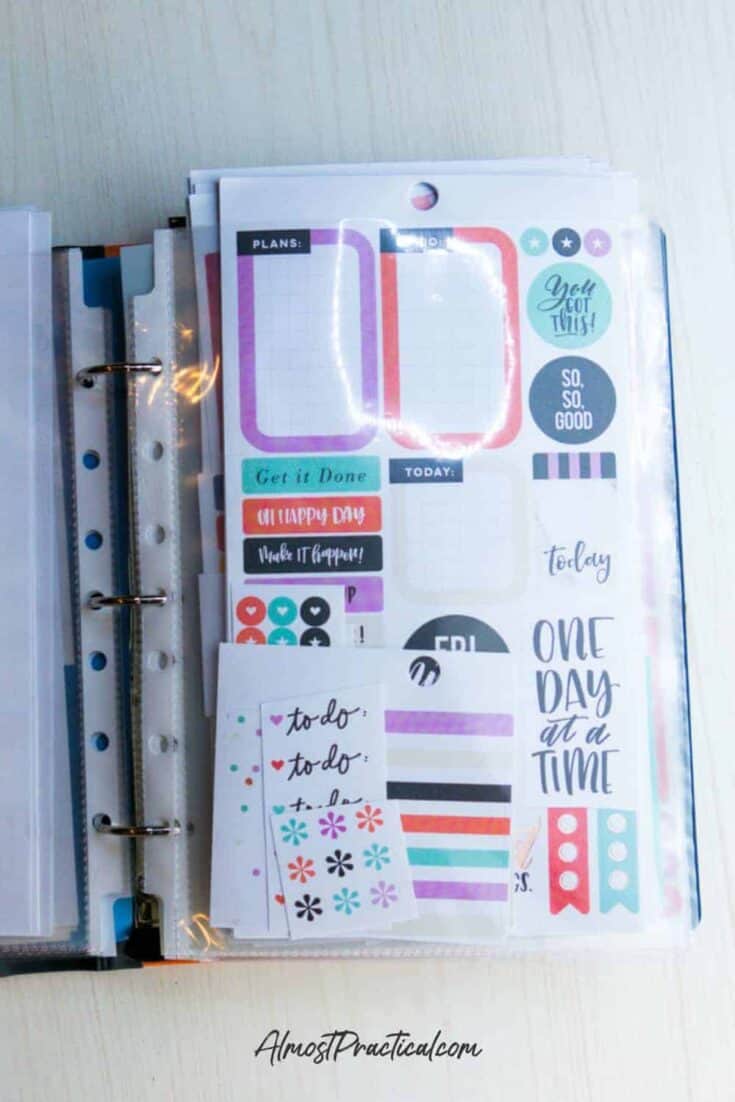
The Color Story Sticker Book contains groupings of stickers that are all connected through a color scheme.
There is a whole variety of stickers in four different color schemes (black and gold, pastels, florals, and bold colors).
Rather than break these sets up by type of sticker, I chose to keep these together by color scheme.
I think this will be useful in creating a color coordinated planner spread for a week or month.
So, basically what I did with this tab was to use one sheet protector to collect all the stickers in a single color scheme.
Functional Stickers
This tab is where the bulk of my planner stickers are located.
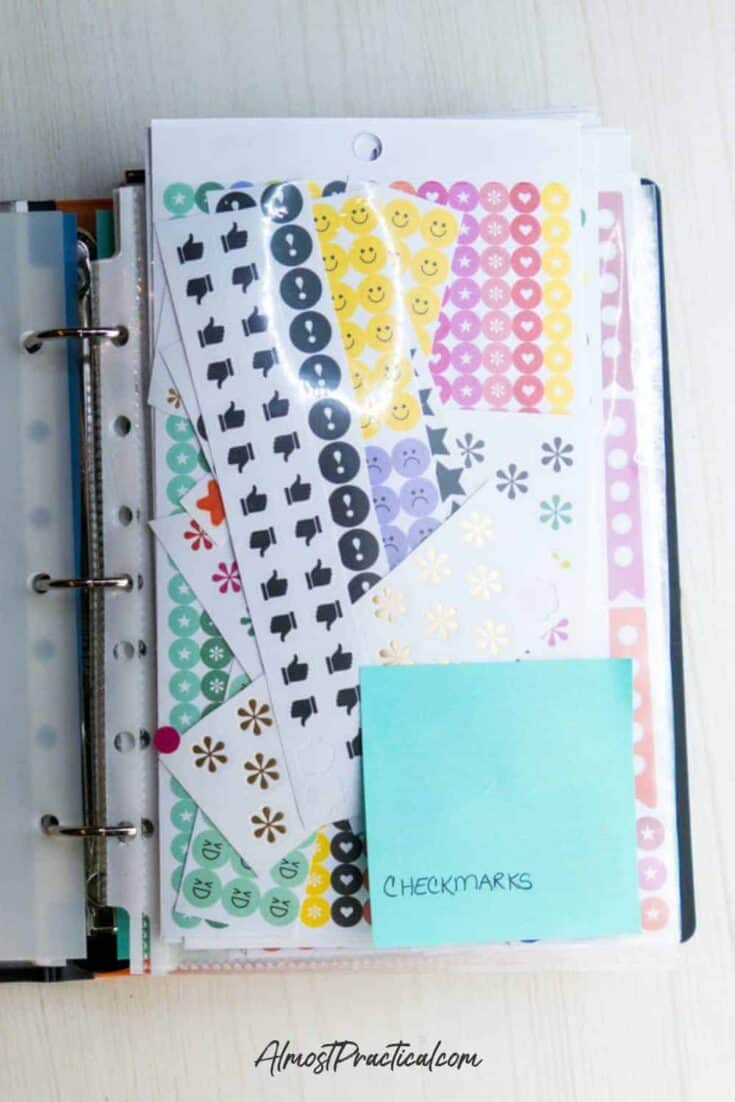
I divided my functional type stickers into the following sleeves:
- checkmarks – these include small circular stickers, stars, hearts, and flags that are designed to bring attention to a particular event in your planner
- to do stickers – these are the stickers that have space for to do lists or sticker banners with circles for checkmarks.
- flags – I consider flag stickers to be a little bigger than checkmarks – these stickers say things like TODAY or Don’t Forget, Deadline, Remember, etc.
- budgeting stickers – my Happy Planner stickers include a collection of stickers related to budgeting and bills
- food stickers – I have several food related stickers – coffee cups, grocery shopping, and “what’s for dinner” type stickers
- chore stickers – who doesn’t have chores to do? This sleeve contains stickers for laundry, cleaning, and such
- tracker stickers – stickers in this sleeve are designed to help you keep track of things like steps, hydration, and even weight
- event stickers – to highlight things like appointments, date nights, and family time
- weekend stickers – my Happy Planner stickers contain lots of weekend call outs – so I created a sleeve just for these
You, of course, can divide up your functional stickers in any way that makes the most sense for your lifestyle and also for the collection of planner stickers that you have on hand.
Quotes
A Happy Planner sticker book just would not be right without a selection of motivational quotes.
I have a good number of quote stickers telling me to
- Treat Yourself
- High Five!
- Never Give Up
- You’ve Got This
- etc.
I divided these into two sleeves – one for larger sized quote stickers and one for smaller stickers.
Of course, you can add sleeves for other spec
Holidays/Seasonal
This tab speaks for itself.
I have sleeves for:
- December holidays
- Fall stickers
- Summer stickers
- Spring stickers
Most of these came from a Happy Planner Seasonal Sticker Book – mine is an older version of the one linked here.
Other Planner Stickers
The final tab is for miscellaneous categories of planner stickers.
Right now this includes sleeves for travel stickers and washi type (long rectangular) stickers.
Other Points to Note
No matter what you do, there will be some overlap between categories.
The Happy Planner Stickerbook pages are jammed with fun stickers which means that cutting them apart into categories will not always make sense.
Some may be too close together and you will also see a smattering of stars and small, tiny stickers in between bigger stickers of different categories.
Just file them away into the category that makes the most sense.
Also, you might want to keep your Happy Planner Sticker Book front covers.
I slide mine into the back of my sticker binder.
This helps me to keep track of the sticker books that I already own.
Finally, I found that one mini binder will fit about four Happy Planner Sticker Books worth of stickers.
Keep in mind that every book is a different size and contains a different number of stickers – so this is just a rough guideline.
It’s Easy to Organize Your Happy Planner Stickers
I hope I have given you some good ideas on how to organize your Happy Planner Stickers and end the frustration of digging through everything to find that perfect one.
It’s as simple as getting a mini binder with dividers and sheet protectors – and then creating categories that make sense for you.
If you happen to have a ton of stickers then you can set up multiple binders to accomodate your collection.
Here is a Selection of Happy Planner Sticker Books That You Might Like
Pin This Post to Refer To Later




Thanks! I already broke my whole sheets into general categories but it’s not as fluid as I’d like so this is my next step. Just trying to decide how I want to store them. Debating the mini binders, plastic scrapbook photo storage cases, or coupon binders. Ugh… decisions, decisions!